Bathing and Drying a Six Pound Maltipoo
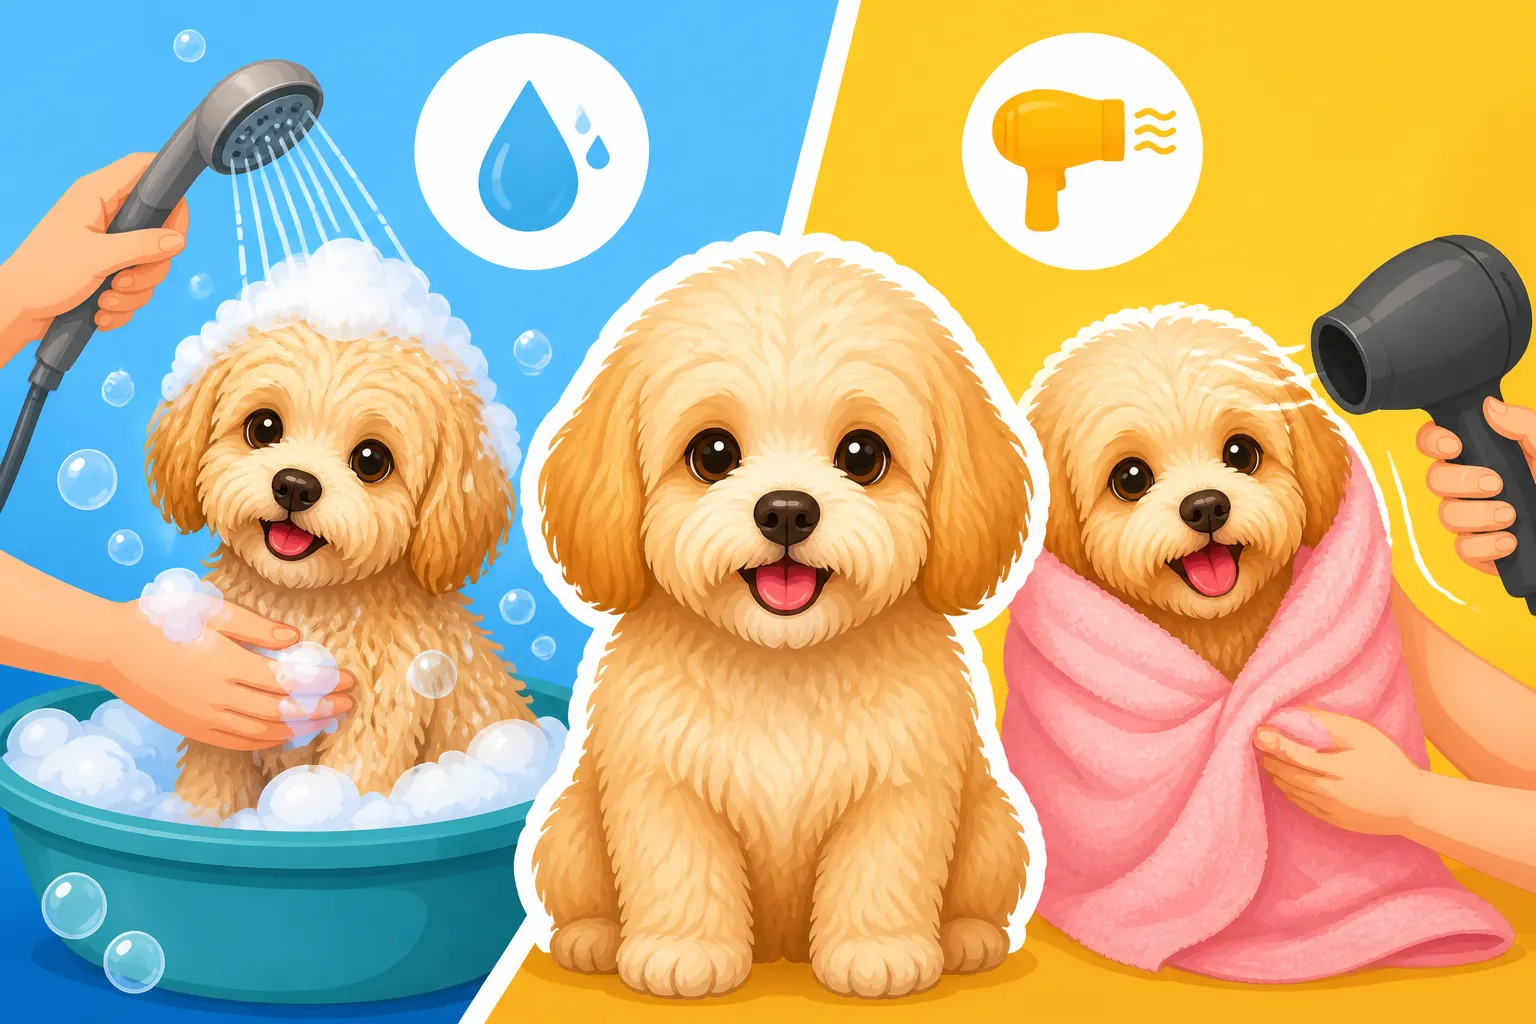
Bathing a tiny six-pound Maltipoo can quickly turn into a stressful, slippery ordeal for both you and your dog. Their delicate bones make full-sized bathtubs terrifying, while their combination of soft Maltese hair and dense Poodle curls mats almost instantly if washed or dried incorrectly. This comprehensive guide covers every step of the bath routine, from pre-bath prep to fluff-drying, ensuring your little companion stays safe, calm, and perfectly groomed.
Preparing the Bath Environment for a Six Pound Maltipoo
Choosing the Right Basin and Water Temperature
Attempting to bathe a tiny dog in a standard home bathtub is a recipe for physical strain and a panicked pet. When a six-pound dog stands in a massive porcelain tub, the overwhelming space, echoing water noise, and slick floor create immense anxiety. Furthermore, bending over a deep tub for twenty minutes wreaks havoc on your lower back. The ideal setup for a dog this size is a clean kitchen sink or a dedicated plastic basin set safely on a stable countertop. Elevating the bathing space allows you to maintain full physical control and close visual contact, which helps keep your Maltipoo calm throughout the process.
Water temperature control is critical when dealing with a toy breed. A dog’s normal body temperature sits higher than a human’s, yet their small body mass means they lose core heat rapidly when wet. Water that feels pleasantly warm to your wrists can quickly turn chilling if it lingers, or too hot if your home’s water heater fluctuates. You want lukewarm water that matches body temperature—comfortably warm, never hot. Always test the water flow on the sensitive skin of your inner forearm before letting a single drop touch your pup’s coat.
Safety inside the basin comes down to traction. Porcelain, stainless steel, and smooth plastic become slick ice rinks the moment water and shampoo are introduced. A slipping dog will panic, scramble, and potentially strain fragile joints or slip out of your hands. Place a textured, non-slip rubber bath mat or a heavy wet washcloth directly on the bottom of the basin before placing your dog inside. Giving their tiny paws something firm to grip instantly lowers their stress levels and prevents accidental falls.
Pre-Bath Coat Preparation and Mat Prevention
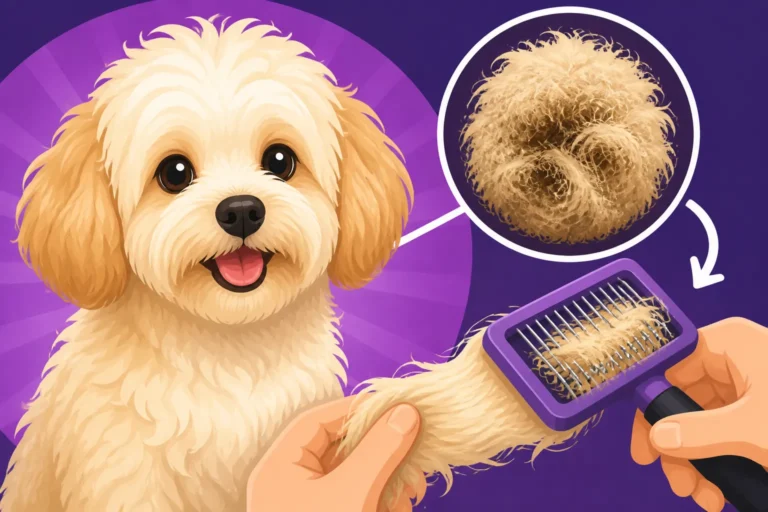
The biggest mistake a pet owner can make is placing a matted Maltipoo directly into the water. Water acts like a vice on tangled hair; when wet, individual hair shafts swell, locking knots tightly against the skin. Once a mat gets soaked and dried, removing it without cutting it out becomes nearly impossible. Before you even turn on the faucet, you must perform a thorough, root-to-tip comb-through of the entire body. Pay close attention to high-friction areas such as behind the ears, deep inside the armpits, where the tail meets the back, and along the belly.
Using the right tools during pre-bath prep makes all the difference. A high-quality stainless steel butter comb combined with an ergonomic slicker brush allows you to isolate small sections of hair and gently work through snarls. If you encounter a stubborn knot, hold the base of the hair near the skin with your fingers to prevent pulling on sensitive tissue while you pick apart the knot with the outer teeth of your comb. For routine grooming maintenance between baths, many owners order specialized dematting sprays and slicker tools from online retailers like Chewy to keep their dog’s coat manageable before water is ever introduced.
Understanding your dog’s specific hair structure dictates how much prep work is required. Whether your dog inherited The Wavy Maltipoo Coat or dense Poodle curls, loose shedding hair gets trapped within the fleece rather than falling to the ground. If this loose hair is not brushed out prior to washing, it binds with the living coat during lathering. Taking ten extra minutes to brush thoroughly before wet grooming saves you from hours of painful dematting afterward.
Gathering Essential Grooming Supplies
Once a six-pound dog is wet, you cannot leave them unattended for even a second to grab a forgotten towel or bottle. Leaving a wet toy breed on a counter to search for supplies creates an extreme fall hazard, and leaving them standing in a sink leads to rapid chilling. Gather every tool, product, and towel within arm’s reach before your dog enters the bathroom space. Your setup should include dog-specific shampoo, a deeply hydrating conditioner, a soft washcloth, multiple microfiber towels, a slicker brush, and cotton balls.
The selection of washing products directly impacts the long-term health of your dog’s skin. Human shampoos, including gentle baby formulations, are formulated for acidic human skin and will strip a dog’s neutral skin barrier, leading to flaking, severe itching, and secondary yeast infections. Select a soap-free, hypoallergenic dog shampoo paired with a protein-rich conditioner. High-quality coat sprays and gentle formulations can easily be ordered off Amazon, making it simple to keep safe, dog-specific products stocked in your grooming kit.
Towel preparation requires more thought than simply grabbing an old bath sheet. Standard cotton bath towels are bulky and coarse, often tugging on delicate hair and absorbing water too slowly. Microfiber towels absorb significantly more water per square inch without aggressive rubbing. Keep three small microfiber towels stacked next to your basin: one for catching the initial drip, one for wrapping the body securely immediately after washing, and a third dry towel for blotting the legs and feet right before blow drying.
Step by Step Washing Techniques for Fragile Toy Breeds
Protecting Sensitive Ears, Eyes, and Muzzle
The head and face require the most delicate approach during the bath. Water entering the ear canals of a drop-eared breed like a Maltipoo creates a moist environment where bacteria and yeast thrive, almost guaranteeing a painful ear infection. To prevent water from entering the ears, place a small, dry piece of cotton ball just inside the entrance of each ear flap before bathing. Be careful not to push the cotton down into the deep ear canal; it should sit comfortably in the outer ear pocket to catch stray drips.
Shampoo in the eyes causes stinging, inflammation, and immense bath-time stress. Even products labeled as tearless should never be applied directly near the eye sockets. Instead of using a spraying nozzle or pouring water over your dog’s head, wash the facial area exclusively with a damp washcloth. Lightly wet the washcloth with warm water, apply a tiny drop of diluted shampoo, and gently wipe away tear crust, food debris, and facial discharge.
Cleaning around the muzzle requires patience, especially if your dog tends to squirm. Hold the chin hair firmly but gently to stabilize the head, keeping the muzzle pointed slightly downward so water does not run up their nose. Use a fine-tooth facial comb to gently work through wet beard hair, removing stuck-on food or discharge. Rinse the washcloth with clean warm water and wipe the face repeatedly until all soap residue is completely removed.
Lathering and Rinsing Without Tangling Curly Hair
When applying shampoo to a coat that combines fine hair with tight waves, your hand movements matter tremendously. Swirling shampoo in aggressive circular motions across the back or legs creates severe matting, tangling coat fibers into dense, tight knots. Instead of scrubbing like you would clean a carpet, apply diluted shampoo along the spine and smooth it down the direction of hair growth. Use your fingers to massage the lather through the hair mass in downward, squeezing strokes.
Always dilute concentrated dog shampoo with warm water in an empty bottle before applying it to the coat. Concentrated shampoo poured directly onto a dry or wet coat settles in dense pockets that are exceptionally difficult to rinse out. Diluted shampoo spreads effortlessly, penetrates dense fur quickly, and rinses out in half the time. Pay close attention to underarms, groin areas, under the tail, and between the foot pads, as these high-moisture spots harbor odor-causing bacteria.
Rinsing must be thorough and deliberate. Residual shampoo left on the skin dries into a flaky film that causes intense irritation, prompting your dog to chew their skin until raw. Use a low-pressure handheld shower attachment held close to the skin, or fill a lightweight plastic pitcher with warm water and pour it smoothly over the body. Continue rinsing for at least two minutes after the water runs completely clear, constantly squeezing the coat with your free hand to check for lingering slickness or suds.
Managing Water Temperature and Hypothermia Risks
Due to their low body mass and thin layer of body fat, a tiny dog’s core temperature drops rapidly the moment their skin gets wet. Understanding Why a Small Maltipoo Loses Heat Fast helps owners recognize that bathing is not just a cosmetic chore, but a procedure requiring careful thermal management. drafty rooms, lukewarm-to-cold water, or extended drying times can send a small puppy or adult dog into mild hypothermia, marked by severe shivering, pale gums, and lethargy.
To protect your pet during the wash phase, keep the bathroom door closed to block drafts and retain ambient steam heat. Keep the duration of the wet portion of the bath brief—aim for under ten minutes from first spray to towel wrap. Never leave the dog standing in standing water; ensure the basin drain remains clear so cooler, dirty runoff empties immediately.
If your dog starts trembling intensely during the wash, speed up your process, skip a second lathering step, and proceed immediately to rinsing and drying. Trembling isn’t always just anxiety; it is often an involuntary physiological attempt to generate muscular body heat. Keeping an extra bath towel warmed in a clothes dryer prior to the bath provides immediate thermal relief the moment you lift your dripping dog out of the sink.
Essential Drying Methods and Coat Care
Towel Drying Without Creating Frizz or Knots
The instant your dog steps out of the water, proper drying protocol begins. The goal of towel drying is removing bulk moisture without friction. Scrubbing a wet Maltipoo back and forth with a towel creates immediate, dense mats across the body that ruin all your pre-bath combing efforts. Friction also damages the delicate hair cuticle, causing microscopic breakage that results in dull, frizzy, and unruly texture once dry.
Instead of rubbing, wrap your dog in a thick microfiber towel like a burrito and press firmly against their body with your hands. Hold the dog snugly against your chest for two to three minutes, allowing the high-absorbency fabric to draw water out of the undercoat through simple capillary action. Move to a second dry towel and repeat the pressing technique along the legs, tail, and underbelly.
After initial blotting, gently lift individual sections of hair with your towel and press them between your palms. Pay special attention to the deep crevices of the chest, underarms, and feet where water pools. The more moisture you squeeze out gently with towels, the less heat exposure your dog will require during the blow-drying phase.
Blow Drying with Precision and Safe Heat Levels
Never allow a soft-coated toy dog to air dry in ambient room air. Allowing a curly coat to dry naturally leads to tight, natural shrinking of the hair shaft, trapping moisture near the skin and setting unruly crimps that are impossible to style out later. Moreover, air drying prolongs chilling, especially if you consider Whether a Clipped Maltipoo Feels the Cold More during colder winter months. Mechanical blow-drying is necessary to straighten the hair shaft, add volume, and prevent damp undercoats from souring.
Using a human hair dryer requires extreme caution. Human dryers often reach temperatures high enough to burn a small dog’s thin skin within seconds. If you use a standard household dryer, set it to the lowest heat setting and medium airflow, keeping the nozzle at least eight to ten inches away from the dog at all times. Keep the dryer unit constantly moving; holding a warm air stream over one patch of skin will cause rapid heat build-up and pain.
For superior results, invest in a low-noise, variable-speed high-velocity pet dryer designed for small animals. These specialized tools use warm ambient air and focused air pressure to push water droplets directly off the hair shaft without scorching heat. Direct the air stream from the skin outwards, working from the rear of the dog toward the front. Keep one hand continuously running through the section of coat you are drying to feel the exact air temperature reaching the skin.
Line Brushing and Slicker Techniques
Line brushing while drying—often referred to as fluff drying—is the secret technique professional groomers use to achieve that perfectly round, soft, teddy-bear appearance. To line brush properly, use your non-dominant hand to push the damp coat upward against the direction of growth, exposing a clean “line” of bare skin. With your dominant hand holding a soft-pinned slicker brush, gently stroke small layers of hair downward away from the line, while direct warm airflow hits that exact spot.
Work systematically across the entire body in small, one-inch sections, ensuring the brush pins gently touch the hair root without dragging roughly across the skin. Brush and dry each section completely before moving to the next block of coat. If you blow dry hair without simultaneously straightening it with a comb or brush, the coat will dry into tight, frizzy coils rather than a soft, workable cloud.
Be exceptionally gentle on the legs, tail, and ears where bone structure sits directly beneath thin skin. When brushing the ears, place your hand flat behind the ear leather so your palm supports the ear, preventing the brush pins from poking or snapping the delicate edges of the ear flap. Taking your time during fluff drying prevents future coat matting and makes routine maintenance effortless.
PROCESS: THE 5-STEP FLUFF DRYING METHOD
1. PART THE COAT: Use your free hand to hold wet hair upward, creating a line showing skin.
2. DIRECT AIRFLOW: Aim a warm, low-speed blow dryer directly at the exposed line of skin.
3. STROKE DOWNWARD: Gently pull small sections of hair down with a soft slicker brush.
4. MOVE SYSTEMATICALLY: Work in tiny one-inch sections from the back legs forward toward the chest.
-
COMB TO VERIFY: Pass a steel butter comb from root to tip to confirm zero remaining damp knots.
-
Part the coat: Use your non-dominant hand to hold wet hair upward, exposing a distinct “line” of skin.
- Direct airflow: Aim a low-temperature, warm dryer stream directly at that exposed line of skin.
- Stroke downward: Gently pull small, thin layers of hair down away from the hand using a soft-pinned slicker brush.
- Move systematically: Dry one tiny section completely before moving to the adjacent area, working from rear to front.
- Comb to verify: Finish each dried section by passing a metal butter comb completely through from skin to tip to ensure zero hidden tangles or damp spots remain.
Post-Bath Maintenance and Skin Hydration
Leave-In Conditioners and Coat Protection
Once the coat is fully dry and straightened, applying a light leave-in conditioning spray or finishing mist helps seal the hair cuticle and protect it from dirt, static, and friction mats. A high-quality coat mist adds moisture back into hair strands that may have lost natural oils during the washing process. Lightly mist the coat from about twelve inches away, taking care to shield your dog’s eyes and nose with your hand.
Gently comb the finishing product through the fur using a wide-toothed metal comb. Regular post-bath conditioning prevents static electricity from pulling hair together into tiny friction knots, which commonly develop around the neck area where collars sit or under the chest where harnesses rub. Incorporating a conditioning spray into your post-bath routing ensures your dog’s coat remains silkier for longer periods.
Nutrition plays an equal role in maintaining skin barrier health from the inside out. Dogs fed fresh, highly bioavailable diets containing balanced omega fatty acids—such as those delivered by fresh dog food subscription brands like Ollie—naturally produce healthier skin oils. A healthy natural lipid layer on the skin reduces post-bath dryness, minimizes dander, and makes the coat far less susceptible to environmental breakage and matting.
Monitoring Tear Stains and Facial Hygiene
Light-coated toy breeds often suffer from reddish-brown tear staining around the eyes and facial muzzle. Water exposure can exacerbate these stains if dampness lingers in the deep facial folds. After the bath, double-check that the inner corners of the eyes and the mustache area are entirely dry. Use a clean, dry cotton pad to absorb any lingering moisture beneath the eye socket.
Regular maintenance between full baths is vital for keeping facial hair clean and tear-free. Wiping the eye area daily with a warm, damp cloth removes clear tear build-up before it can oxidize and turn dark red or brown. For additional tips on managing eye discoloration, consulting guides on Tear Staining on a Light Coated Maltipoo provides targeted insight into environmental, dietary, and genetic causes of tear staining.
Facial hair growth also requires regular trimming to maintain hygiene. Long hairs poking directly into the eye socket trigger excessive tearing, creating a constant cycle of wetness and staining. Keep face hair neat by practicing Keeping a Maltipoo’s Face Trimmed and Clean, ensuring hair falls cleanly away from the cornea to prevent mechanical irritation and keep facial hair sanitary.
Bathing Setup Options for Small Breeds
Selecting the right bathing equipment and washing location makes a massive difference in physical safety, bath efficiency, and human comfort. The table below outlines how common home bathing locations stack up when washing a six-pound dog.
| Bathing Setup Location | Safety Level | Human Ergonomics | Water Temperature Stability | Overall Suitability for a 6 lb Dog |
|---|---|---|---|---|
| Standard Adult Bathtub | Low (High fall hazard, slick porcelain surface) | Poor (Requires extreme bending over low tub edge) | Moderate (Large room cools water temperature quickly) | Unsuitable (Creates anxiety, physical strain) |
| Kitchen Sink | High (Elevated, easy to secure dog with hands) | Excellent (Waist-height work level eliminates back strain) | High (Easy tap adjustments, warm confined air) | Highly Recommended (Safe, highly manageable) |
| Elevated Pet Basin | Very High (Custom drain, integrated non-slip floor) | Excellent (Designed specifically for counter or floor standing) | High (Compact area maintains local warm water) | Ideal (Professional level setup for routine home grooms) |
Kitchen Sink vs Bathtub vs Portable Grooming Tubs
As highlighted in the table above, the standard adult bathtub is usually the worst place to wash a tiny toy dog. The vast open space causes small dogs to feel exposed and insecure, causing them to shrink down or scramble frantically. Furthermore, the distance between your hands and the dog makes precise control difficult. Bending over a low tub wall for fifteen to twenty minutes places immense stress on your lower back and knees, turning grooming into a grueling chore you’ll want to avoid.
The kitchen sink offers far better control and physical comfort. Standing upright at counter level allows you to maintain close, reassuring contact with your dog while preserving your posture. The smaller enclosure helps keep the immediate air warmer and limits your dog’s ability to bolt. Always thoroughly clean and sanitize your sink both before and after bathing your dog, ensuring food residue is completely washed away before the dog enters, and pet hair is fully cleared afterward.
Dedicated elevated pet basins offer the absolute ultimate in home bathing convenience. These portable basins sit directly inside a tub, shower stall, or on a counter, featuring non-slip textured floors, built-in drain hoses, and safety restraint tethers. Utilizing a dedicated pet tub keeps pet dander and hair isolated from kitchen surfaces while providing the safest possible surface for your pet.
Handheld Sprayers vs Pitcher Rinsing
The tool you use to deliver water dramatically influences your dog’s emotional state during the bath. High-pressure spray nozzles running at full strength generate loud noise and intense water force that feels terrifying to a tiny animal. If using a handheld shower attachment, dial back the water pressure to a soft, warm stream and hold the spray nozzle directly against the dog’s skin. Keeping the sprayer face resting directly on the coat muffles sound and prevents cold water spraying through ambient air.
Pitcher rinsing is an exceptionally gentle, low-stress alternative for nervous or very young puppies. By filling a plastic container with warm water and pouring it smoothly over the shoulders and back, you eliminate the scary hiss and pressure of a mechanical spray head. Pitcher rinsing takes slightly longer to flush dense shampoo out of a thick coat, but the reduced noise keeps anxious dogs far calmer.
Determining how often to put your dog through this routine depends heavily on lifestyle, coat length, and skin sensitivity. Reviewing expert recommendations on How Often a Six Pound Maltipoo Can Be Washed ensures you establish a schedule that keeps your pet clean without drying out skin oil reserves or causing unnecessary bath fatigue.
Bath Time Routine Execution
- Place a non-slip rubber mat on the basin floor and check that warm water temperature matches your inner arm.
- Comb out all mats completely using a steel butter comb before wetting any fur.
- Place cotton balls loosely in the outer ears to prevent water entry.
- Wet the body from shoulders to tail with gentle warm water pressure, leaving the head dry.
- Smooth diluted shampoo down the spine and work it down through the fur without circular rubbing.
- Clean the face carefully using a warm, damp microfiber washcloth without soap near the eyes.
- Rinse the coat thoroughly for two full minutes until every trace of suds is cleared.
- Apply a light conditioner, massage down the length of the hair, and rinse completely.
- Wrap the dog immediately in a warm microfiber towel and press water out gently without rubbing.
- Fluff-dry using a cool/warm setting with a slicker brush, line-brushing small sections until completely dry.
Frequently Asked Questions
What should I do if my Maltipoo panics during a bath?
If your dog panics, pause immediately and reduce sensory overload. Turn off running faucets, which generate scary high-frequency sound, and switch to pitcher pouring. Ensure the floor non-slip mat is firm beneath their feet, speak in a gentle low voice, and wrap a warm, damp towel over their body to help them feel secure while you gently finish rinsing.
Can I let my small dog air dry if my house is warm?
Air drying is strongly discouraged for Maltipoo coats. Allowing hair to air dry causes tight natural curling and shrinkage, locking in mats and leaving damp moisture near the skin surface. Air drying also risks chilling toy breeds due to rapid body heat loss. Always blow dry on low heat while gently brushing the coat straight.
How do I stop my dog from shivering uncontrollably after the bath?
Shivering occurs when water evaporation chills your dog’s skin. Immediately wrap your wet dog in a dry microfiber towel right out of the basin, pressing water out of the coat quickly. Using a warm towel fresh out of the clothes dryer helps stabilize body temperature before you begin the blow-drying process.
Is human baby shampoo safe for a Maltipoo puppy?
No, human baby shampoo should not be used on dogs regularly. While mild, baby shampoos are formulated for acidic human skin pH, whereas dog skin is neutral. Regular use of human products strips natural oils, resulting in dry, itchy skin, flaking, and heightened risk of skin infections. Always use a pH-balanced shampoo designed for dogs.
How do I clean tear stains off my dog’s face during the bath?
Never pour water or lather shampoo over your dog’s face to treat tear stains. Soak a clean washcloth in warm water, apply a drop of gentle tearless dog facial cleanser, and hold the warm cloth over the tear stains for thirty seconds to soften crusts. Gently wipe outward away from the eye, then comb the face hair straight with a fine-tooth comb.
Disclaimer
This article is for general informational purposes only and does not constitute professional advice. Laws, prices and regulations vary by location and change over time. Consult a qualified professional for guidance on your specific situation.