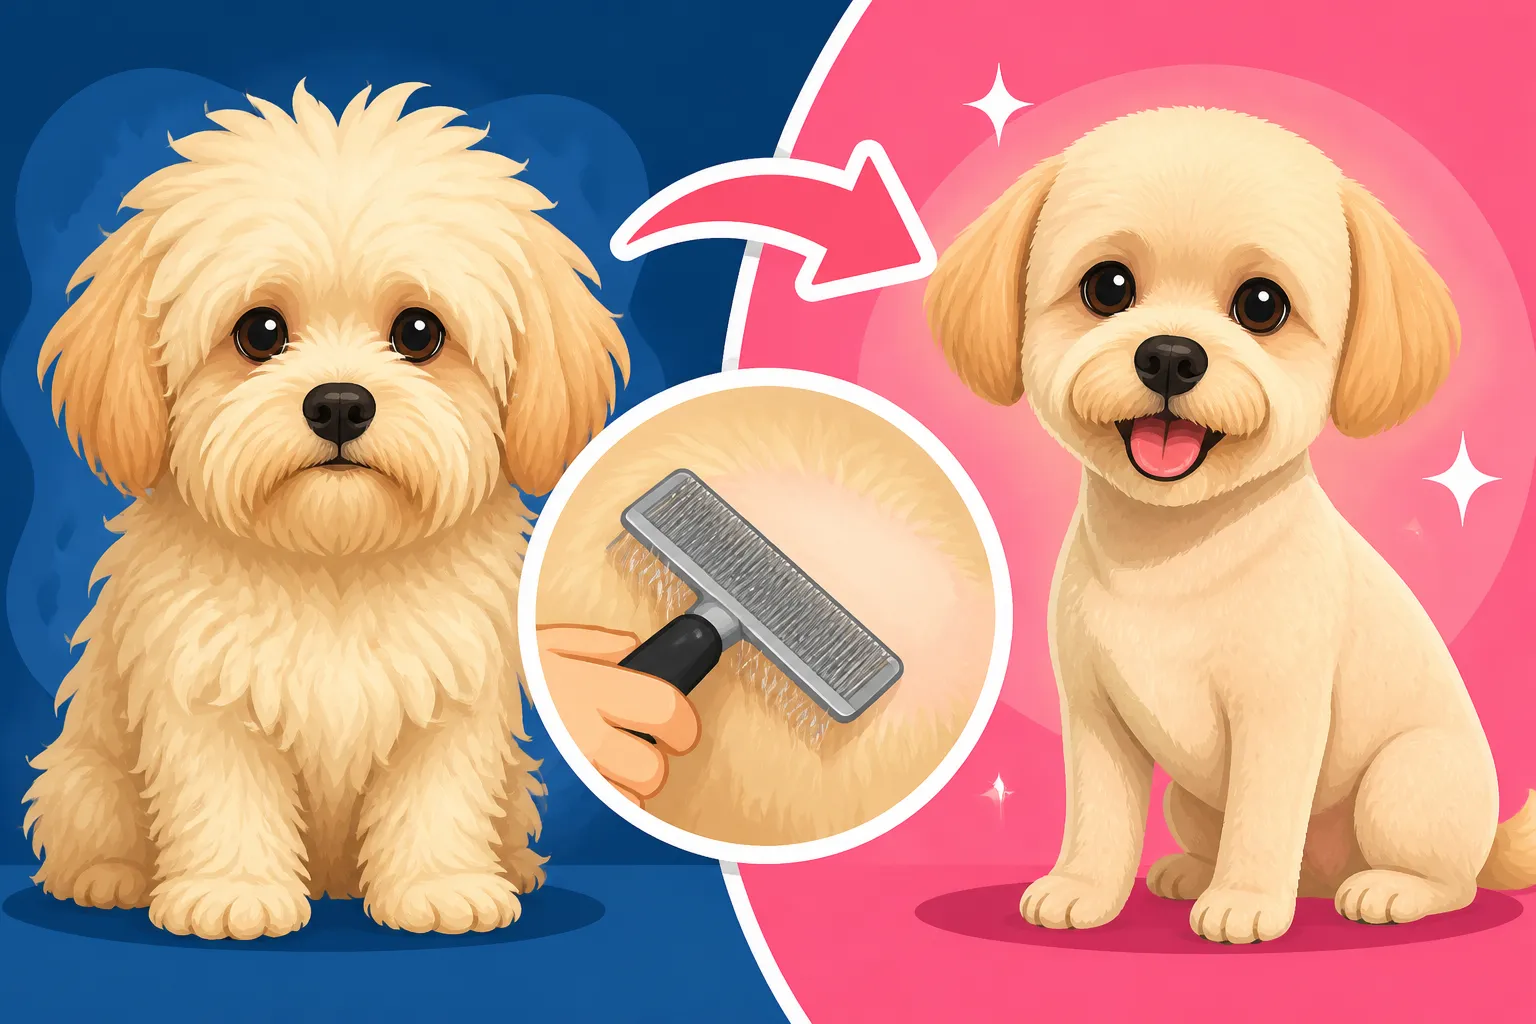
Combing a Maltipoo Down to the Skin
The beautiful, flowing coat of a Maltipoo is one of its most cherished features, but it's also a double-edged sword that can become a tangled, matted mess in what feels like mere moments. Many owners find themselves frustrated, wondering how their fluffy friend went from groomed to matted overnight, and often, the answer lies in not combing all the way down to the skin. This guide will walk you through the essential techniques and tools to ensure your Maltipoo's coat is truly knot-free, preventing painful mats and costly trips to the groomer.
The Critical Importance of Combing Down to the Skin
It’s easy to admire a Maltipoo's soft, fluffy exterior and think a quick brush over the top is enough to keep their coat in pristine condition. However, beneath that soft surface lies a secret world where tangles and mats begin, often unseen until they've become a serious problem. Combing down to the skin isn't just a suggestion; it's a fundamental necessity for the health and comfort of your Maltipoo.
Understanding the Maltipoo Coat: A Matting Magnet
Maltipoos inherit their coats from two non-shedding breeds: the Maltese and the Poodle. This sounds wonderful, doesn't it? No shedding means less cleanup! But what non-shedding really means is that dead hair doesn't fall out; instead, it gets trapped within the living coat. This trapped hair, combined with the fine, often wavy or curly texture, creates a perfect storm for matting. It's like having a perpetual sweater that continuously tries to knit itself tighter and tighter.
Imagine running your fingers through freshly washed human hair, and then imagine doing the same through a tangled bird's nest. That's the difference between a properly combed Maltipoo coat and one that has only been surface-brushed. The density of their fur, coupled with its soft, cottony texture, allows individual strands to intertwine and bind together with surprising speed. Even a slight dampness, friction from clothing, or the simple act of rolling on the carpet can initiate mat formation. Understanding this inherent characteristic is the first step in appreciating why your grooming efforts must go beyond the superficial. You might also notice distinct types of coats, like The Wavy Maltipoo Coat or The Curly Maltipoo Coat, each presenting its own unique challenges for mat prevention.
Why Surface Brushing Isn't Enough
Many well-meaning Maltipoo owners brush their dogs daily, yet still find themselves dealing with mats. The common culprit is surface brushing. This technique only glides over the top layer of the coat, making it look smooth and presentable on the outside. However, the brush bristles never reach the undercoat or the hair closest to the skin, leaving the deeper layers untouched.
Think of it like sweeping dust under a rug. The surface looks clean, but the mess is still there, just hidden. Over time, these hidden tangles at the base of the hair shaft accumulate, becoming tighter and more painful. The top layer of hair, while looking fine, actually contributes to the problem by pressing down on the forming mats, making them even denser and harder to remove. A quick pass with a slicker brush might make you feel like you've done your duty, but if you're not getting right down to where the hair meets the skin, you're missing the crucial spots where mats thrive.
The Dangers of Neglecting the Undercoat
When mats form close to the skin and are left unaddressed, they can lead to a host of uncomfortable and even dangerous problems for your Maltipoo. The mat acts like a tight blanket, pulling at the skin with every movement. This constant tension is incredibly painful and can restrict blood flow. Beyond the immediate discomfort, matted fur creates an ideal breeding ground for bacteria, yeast, and parasites.
The skin underneath a mat cannot breathe, leading to irritation, hot spots, and skin infections. If the mat gets wet, it traps moisture against the skin, exacerbating these issues. In severe cases, mats can even impede a dog's ability to walk, eat, or go to the bathroom. Removing these severe mats often requires professional grooming with clippers, a process that can be stressful for the dog and may even result in nicks to the skin, as the skin can be pulled tightly into the mat. It's a painful, costly, and entirely avoidable situation that highlights precisely why Mats Behind a Maltipoo's Ears and other common trouble spots need immediate attention.
Essential Tools for a Successful Combing Session
Before you even think about tackling your Maltipoo's coat, gathering the right tools is paramount. Just like a chef needs the right knives, a groomer (even an at-home one!) needs the correct brushes and combs to do the job effectively and gently. Skimping on tools often leads to frustration for you and discomfort for your dog, making the entire grooming process a chore rather than a bonding experience.
The Right Brush: Pin Brush vs. Slicker
When it comes to brushes, you'll likely encounter two main types: the pin brush and the slicker brush. Both have their place, but understanding their functions is key to proper use.
A pin brush (often found on sites like Chewy or Amazon) has widely spaced metal pins, usually with rounded tips, set in a rubber cushion. This brush is excellent for general detangling and fluffing the coat, especially if the hair is relatively knot-free. It can gently work through loose tangles and help separate the hair strands without pulling too harshly. It’s a good choice for the initial pass-through, or for daily maintenance on a well-kept coat. Think of it as your first line of defense, designed to gently pre-condition the coat for deeper work. For longer coats, a pin brush with longer pins will penetrate better.
A slicker brush has fine, short wires packed closely together on a flat or curved surface. These wires are usually angled to grip and separate hair. Slicker brushes are indispensable for removing smaller mats and ensuring the deeper layers of the coat are clear. However, they must be used with a light hand, as the wire bristles can scratch your Maltipoo's delicate skin if pressed too hard. Use short, gentle strokes, lifting the brush off the coat after each stroke to prevent static and over-brushing a single spot. It's especially effective for working through any dense areas or when the coat starts to feel a bit clumpy, just remember to be gentle!
The Almighty Metal Comb: Your Best Friend
While brushes are great for loosening and smoothing, the true hero of "combing down to the skin" is the metal comb. Specifically, a good quality steel grooming comb with both wide and fine teeth is indispensable. This comb is what allows you to confirm that no mats are hiding.
After brushing a section of your Maltipoo's coat, you must follow up with the metal comb. Start with the wide-toothed end to catch larger tangles, then switch to the fine-toothed end. If the comb glides smoothly from root to tip without snagging, you know that section is truly free of mats. If it snags, you've found a hidden tangle that needs to be gently worked out. The comb's ability to reach directly to the skin provides the definitive test for a mat-free coat. Without this tool, you're essentially guessing whether you've truly done the job. It's the litmus test for proper grooming, and honestly, if your comb isn't going through, neither is your brush. For new puppy owners, knowing The Kit Needed to Groom a Maltipoo at Home always includes one of these.
Detangling Sprays and Conditioners
A good quality detangling spray or leave-in conditioner is not a luxury; it's a necessity for Maltipoo grooming. These products reduce friction, making it easier for your brush and comb to glide through the coat. They also help to prevent static, which can cause hair to re-tangle almost immediately after you've worked through it.
Before you start combing, lightly mist the section you're working on with a detangling spray. This lubricates the hair, making it more pliable and less prone to breaking when you encounter a snag. Look for sprays specifically designed for dogs, ideally with moisturizing ingredients like aloe vera or argan oil, to nourish the coat and prevent dryness. Many excellent options are available from reputable brands on platforms like Amazon. Using a conditioner after bathing also helps to smooth the hair cuticles, making future combing sessions easier. Just like human hair, conditioned hair is less likely to tangle, and it will give your Maltipoo's coat that luxurious, soft feel everyone loves.
A Step-by-Step Guide to Combing Your Maltipoo Thoroughly
Now that you have your arsenal of tools ready, it's time to put them into action. Combing a Maltipoo effectively is more about technique and patience than brute force. Rushing the process or pulling too hard will only make your Maltipoo dread grooming time and can cause pain, leading to resistance.
Setting Up for Success: Creating a Calm Environment
Before you even pick up a brush, ensure you and your Maltipoo are in the right frame of mind and setting. Choose a quiet time when you won't be interrupted and your dog is relaxed, perhaps after a potty break and some playtime, but not immediately after eating a big meal. A calm dog is much more cooperative.
Find a comfortable surface to work on. A grooming table with a non-slip mat is ideal, as it brings your Maltipoo up to your level, saving your back and keeping your dog still. If you don't have a grooming table, a sturdy, elevated surface like a countertop or a stable table covered with a non-slip bath mat will work. Ensure you have good lighting so you can clearly see the coat, especially in denser areas. Have all your tools within easy reach: brushes, comb, detangling spray, and some small, high-value treats to reward good behavior. A positive association with grooming is key, so keep sessions positive, even if they are short initially. You might consider short, frequent sessions, perhaps aiming for How Many Times a Week a Maltipoo Needs Combing.
Sectioning the Coat: The Key to Detail
This is arguably the most crucial step for ensuring you comb down to the skin. You cannot effectively comb a Maltipoo's entire coat at once. You need to work in small, manageable sections, methodically covering every inch.
Use your metal comb or your fingers to part the hair, creating a clean line. Start at the bottom of a leg, or along the belly, and work your way up. Hold the section of hair you're not working on out of the way with a clip or your hand. This exposes the roots and the skin, allowing you to focus on one small area at a time. Picture brushing your own long hair; you wouldn't just drag a brush through the whole thing from top to bottom, right? You'd section it. Do the same for your Maltipoo. This technique ensures that you actually get to the skin, preventing any hidden mats from forming. Once you’ve finished a section, move to an adjacent one, overlapping slightly to ensure no area is missed.
The Combing Technique: Small Sections, Root to Tip
With your Maltipoo sectioned off, it's time to apply the actual combing technique. This method is often called "line brushing" or "pin brushing" with a comb.
- Start at the bottom: Take a small section of hair, perhaps an inch or two wide, from the very bottom of the section you're working on (e.g., the bottom of the leg).
- Mist with detangler: Lightly mist this small section with your detangling spray.
- Brush through: Use your slicker brush (gently!) to work through this small section, starting from the very tips and gradually working your way up towards the skin. Always brush away from the skin, not directly into it.
- Comb to the skin: Once the brush glides through, take your metal comb. Start at the very tip of the hair and comb downwards, ensuring the teeth of the comb touch the skin at the base of the hair. If the comb snags, stop immediately. Do not pull. Go back to your slicker brush and gently work on that specific tangle until the comb can pass through smoothly.
- Lift and repeat: Once that small section is entirely comb-through-able from root to tip, lift the next small layer of hair from your main section, clip the top hair out of the way, and repeat the process. Continue this method, working upwards through the larger section, until the entire section of your Maltipoo's coat is fully combed through.
This meticulous, systematic approach ensures that every single strand of hair has been addressed, leaving no room for hidden mats. It takes time, yes, but it’s the only way to truly keep their coat healthy and comfortable. This approach is especially important to prevent issues like Whether a Maltipoo Knots Overnight at Ten Months as their adult coat comes in.
Tackling Mats and Tangles Safely
Despite your best efforts, you might still encounter mats. It happens to the best of us! The key is to address them promptly and gently. Ripping through a mat will cause pain, damage the coat, and make your Maltipoo fearful of grooming. Patience and the right technique are your allies here.
Identifying Different Types of Mats
Not all mats are created equal, and understanding the type you're dealing with can help you approach it effectively.
- Small Tangles/Knots: These are typically loose tangles that form on the surface or just beneath and are usually easy to work out with a detangling spray and a slicker brush or the wide-toothed end of a metal comb. They often appear behind the ears, under the chin, or in the armpits where there's a lot of friction.
- Felted Mats: These are denser, tighter mats where the hair has become completely intertwined, often feeling like a piece of felt. They are usually close to the skin and can be quite painful. These require a more deliberate approach, often with a mat splitter or blunt-nosed scissors (used very carefully).
- Pelted Mats: This is the most severe form, where multiple mats have merged into a solid sheet of fur, clinging tightly to the skin across a large area of the body. A pelted coat restricts movement, can hide skin infections, and is incredibly painful. In such cases, professional intervention is almost always necessary. Trying to remove a pelted mat at home without proper training or tools can result in severe injury to your dog. For these, the only safe and humane option is often to shave the dog completely down.
Being able to differentiate helps you decide whether you can handle it at home or if it's time to call in the professionals.
Gentle Detangling Strategies
For small to moderate mats, follow these steps with extreme caution and patience:
- Isolate the Mat: Gently separate the mat from the surrounding healthy hair.
- Apply Detangling Spray: Liberally spray the mat with a good detangling product. Let it sit for a minute or two to penetrate and loosen the hair.
- Work from the Outside In: Using your fingers, try to gently pull apart the edges of the mat. Never pull directly on the mat itself, as this will pull the skin.
- Use a Mat Splitter/Seam Ripper (with extreme care): If the mat is very dense, you can use a mat splitter or a seam ripper (the sewing tool, but ensure it's blunt-nosed for safety) to carefully cut into the mat, parallel to the skin, effectively breaking it into smaller, more manageable sections. Always place your fingers between the tool and the skin to prevent accidental nicks. Do not cut across the mat, only through it to split it.
- Brush and Comb: Once the mat is broken into smaller pieces, use your slicker brush and then your metal comb to gently work out the remaining tangles, starting from the tips of the hair and working your way towards the base, a little bit at a time. Hold the hair at the base of the mat firmly with one hand while you brush/comb with the other, to minimize pulling on the skin.
- Praise and Reward: Throughout the process, praise your Maltipoo and offer treats for their cooperation. Keep sessions short if your dog becomes stressed.
Remember, the goal is to break up the mat, not to pull it out. Patience is truly a virtue here.
When to Seek Professional Help (and What Not to Do)
There are definitely times when attempting to remove mats yourself can do more harm than good. If a mat is:
- Very close to the skin: The risk of cutting or irritating the skin is high.
- Large and dense (felted or pelted): These are too painful and difficult to remove safely at home.
- Causing pain or discomfort: If your Maltipoo yelps, growls, or tries to bite when you touch a mat, stop immediately.
- Located in a sensitive area: Mats around the eyes, ears, genitals, or anus are best left to professionals.
A professional groomer has specialized tools, techniques, and the experience to handle severe matting safely and efficiently. They can often de-mat a coat that an owner might deem impossible, or they can recommend the most humane option, which is sometimes a complete shave-down. While it might sting your wallet, remember that What a Groomer Charges by the Hour on a Matted Maltipoo is often a reflection of the difficulty and risk involved in de-matting.
What NOT to do:
- Never use scissors with pointed tips near the skin. A sudden movement from your dog can lead to a serious injury. If you must cut, use blunt-nosed scissors and always have your fingers between the blades and the skin.
- Never try to pull or rip a mat out. This is incredibly painful and can tear your dog's skin.
- Do not bathe a matted dog before de-matting. Water will only cause the mats to tighten and become even harder to remove, essentially "felting" them further. De-mat thoroughly before bathing.
Maintaining a Mat-Free Maltipoo: A Daily Commitment
Preventing mats is far easier, less painful, and less expensive than removing them. Maintaining a mat-free Maltipoo truly is a daily commitment, but one that strengthens your bond and ensures your furry friend's comfort and health. It’s not just about vanity; it’s about their well-being.
Establishing a Regular Grooming Routine
Consistency is the single most important factor in keeping a Maltipoo mat-free. You need a routine, and you need to stick to it.
- Daily Brushing and Combing: Aim for a quick (10-15 minute) session every single day, focusing on one or two sections of the body. This prevents small tangles from becoming big problems. Don't skip days, because that's when the coat starts to turn.
- Weekly Deep Dive: At least once a week, dedicate a longer session (30-60 minutes, or broken into shorter sessions over the day) to thoroughly comb through your Maltipoo's entire coat, section by section, down to the skin, using the technique described above. This is your "reset" to ensure no sneaky mats are developing.
- Professional Grooming: Schedule regular appointments with a professional groomer every 4-6 weeks. They can provide a thorough bath, blow-dry, and trim that keeps the coat at a manageable length and helps prevent major matting. Discussing a "puppy cut" or "teddy bear trim" can help keep the coat shorter and easier to manage between professional grooms.
- Focus on Problem Areas: Pay extra attention to areas prone to matting: behind the ears, armpits, inside the legs, under the collar/harness, and the tail. These areas experience more friction and tend to tangle faster. Remember, for instance, Why a Maltipoo Should Never Wear a Collar if it causes friction and matting.
Making grooming a part of your daily routine will not only keep your Maltipoo comfortable but also allow you to catch any potential health issues early, like skin irritations or lumps.
Proactive Measures to Prevent Matting
Beyond the daily comb-through, there are several proactive steps you can take to minimize matting.
- Use a Harness, Not a Collar: Collars, especially flat ones, can rub and create mats around the neck. A well-fitting harness distributes pressure and minimizes friction on the delicate neck fur. Ensure the harness isn't too tight or too loose, as both can cause rubbing. This links directly to advice on Why a Maltipoo Should Never Wear a Collar.
- Regular Trims: Keeping your Maltipoo's coat at a moderate length can significantly reduce matting. While a long, flowing coat is beautiful, it's also high-maintenance. A shorter "puppy cut" or "teddy bear trim" is often more practical for active dogs and busy owners. Even if you love the long look, frequent trims of just an inch or two will help.
- Protective Clothing: In wet or snowy weather, a dog coat or sweater can protect your Maltipoo's fur from moisture and debris, both of which can lead to mats. Just ensure the clothing isn't rubbing excessively in certain spots.
- Manage Playtime: While playing, especially with other dogs, can be fun, keep an eye on your Maltipoo's coat. Roughhousing can quickly lead to tangles and knots. A quick brush-through after a vigorous play session can prevent small tangles from worsening.
- Clean Bedding: Ensure your Maltipoo has clean, smooth bedding. Rough fabrics can cause friction and contribute to matting, especially where the dog lies down most often.
The Link Between Diet and Coat Health
You might not immediately connect what's in your Maltipoo's food bowl with the condition of their coat, but diet plays a significant role in skin and hair health. A healthy coat starts from within.
- High-Quality Diet: Feed your Maltipoo a high-quality, balanced diet rich in essential fatty acids (Omegas 3 and 6). These nutrients contribute to healthy skin and a shiny, strong coat, which is less prone to dryness and breakage, and therefore less likely to mat. Look for dog foods that list real meat as the first ingredient and contain beneficial oils. Brands like Ollie, known for fresh, human-grade ingredients, often formulate their recipes with optimal coat health in mind.
- Supplements: If your Maltipoo's coat seems dull or prone to dryness, discuss supplements with your vet. Fish oil or specific skin and coat supplements containing biotin or vitamin E can be beneficial. Always consult your veterinarian before adding any supplements to your dog's diet.
- Hydration: Proper hydration is also crucial. Ensure your Maltipoo always has access to fresh, clean water. Dehydrated skin can lead to a dry, brittle coat that mats more easily.
By combining a diligent external grooming routine with excellent internal nutrition, you're setting your Maltipoo up for a lifetime of comfortable, beautiful, and mat-free fur. It's a holistic approach that truly benefits your furry companion.
Disclaimer
This article is for general informational purposes only and does not constitute professional advice. Laws, prices and regulations vary by location and change over time. Consult a qualified professional for guidance on your specific situation.