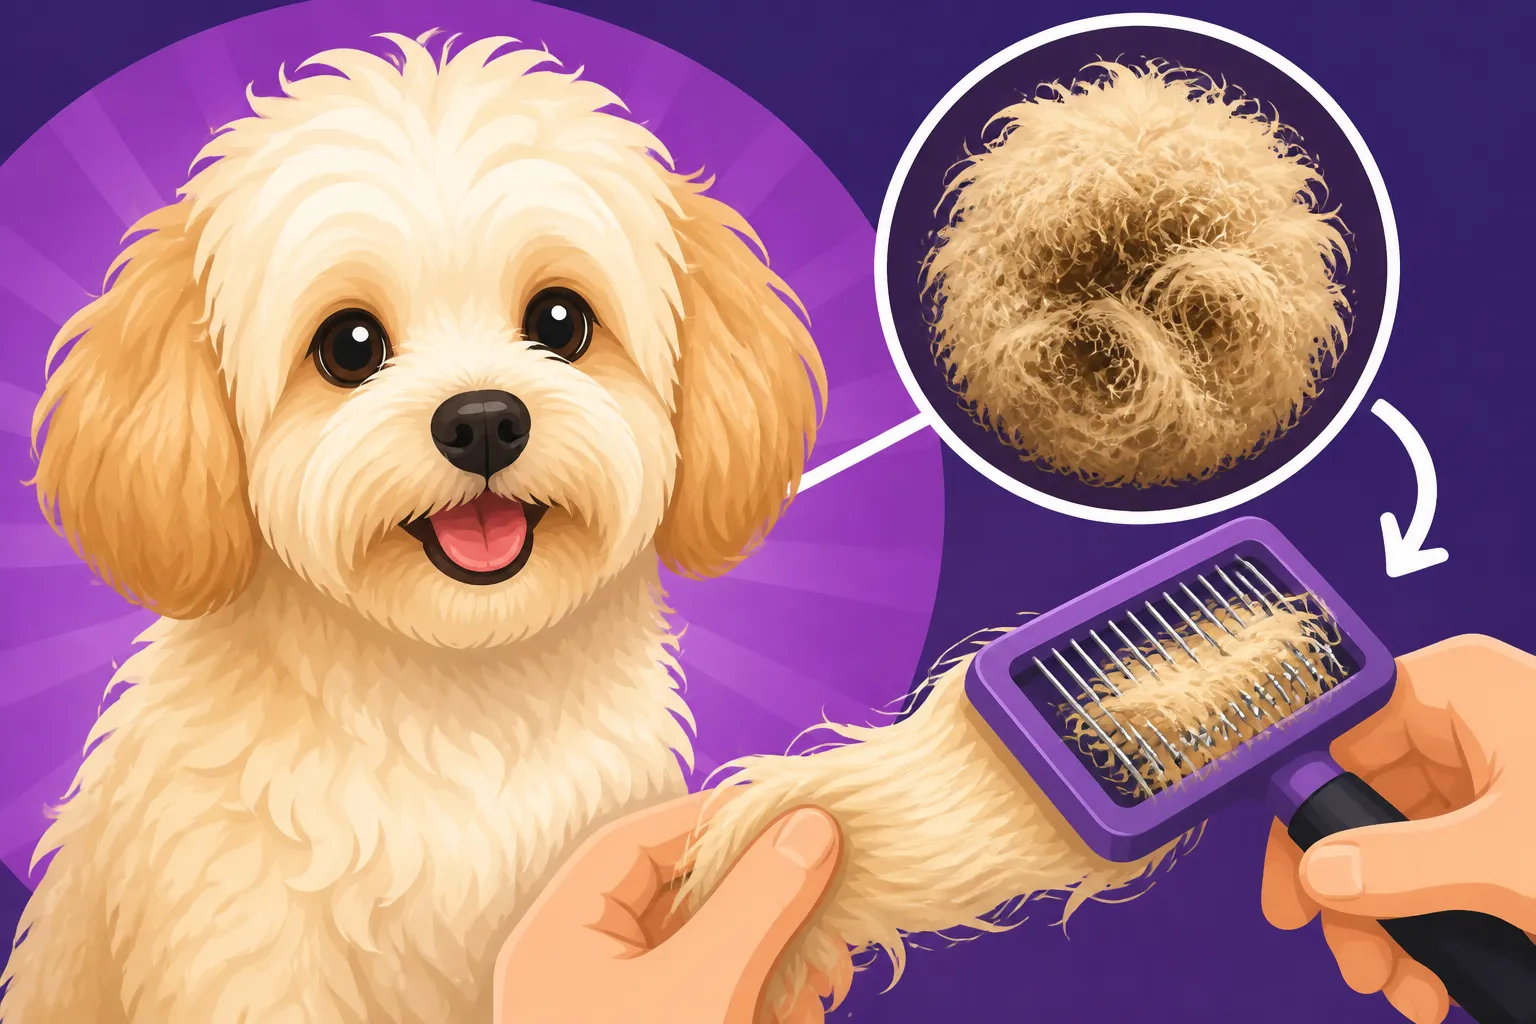
Working a Mat Out of a Maltipoo’s Coat
Oh, the dread of running your fingers through your beloved Maltipoo’s soft, fluffy coat only to hit that dreaded, stubborn knot. It’s a moment every Maltipoo parent experiences, no matter how diligent you try to be with grooming. You might feel like you're doing everything right, brushing daily, but somehow, a mat still forms, tightening its grip and threatening to ruin that beautiful coat. This guide is here to walk you through exactly how to safely and gently tackle those mats, restoring your Maltipoo's comfort and their gorgeous fur.
Understanding Why Mats Form in a Maltipoo's Coat
It's easy to feel defeated when you find a mat, especially when you've been so careful. But the truth is, Maltipoos are predisposed to matting, and it's not always a reflection of your grooming efforts. Their unique coat, a beautiful blend from their Maltese and Poodle parents, is designed not to shed, which means the loose hairs get trapped within the growing coat. Instead of falling out, they coil around other hairs, creating tangles that quickly escalate into tight, felt-like mats.
The Role of Coat Type and Growth
A Maltipoo's coat can vary wildly, from the silkier, straighter texture reminiscent of a Maltese to the tight curls of a Poodle, or, most commonly, a lovely wavy combination of both. Each type has its own matting challenges. A straighter, silkier coat can tangle into wispy, fine knots, while a curlier coat can quickly develop tight, dense mats close to the skin. And let's not forget the "puppy uglies" phase, usually around 6 to 10 months of age, when a Maltipoo’s soft puppy coat begins to transition into its coarser adult coat. During this period, the shedding puppy fur gets hopelessly intertwined with the emerging adult fur, creating a matting nightmare that seemingly forms overnight. This is often The Month a Maltipoo Starts Matting Daily, and it can feel like a losing battle.
Imagine a tightly woven blanket; that's essentially what a mat becomes. Each strand of hair is meant to be separate and free-moving, but when they intertwine, they create a dense barrier. This isn't just a cosmetic issue; mats can pull on the skin, causing pain and discomfort, and can even hide skin infections, parasites, or other issues. It's a real problem that needs addressing with patience and the right technique. Understanding if your Maltipoo has The Wavy Maltipoo Coat, The Curly Maltipoo Coat, or The Straight Coated Maltipoo can give you a clue as to where and how often mats might appear.
Common Matting Hotspots
You'll find that certain areas on your Maltipoo are more prone to matting than others. These are typically areas of high friction or where the hair is finer and more delicate. Common hotspots include behind the ears, under the armpits, around the collar or harness area, on the belly, and where the legs meet the body. For instance, Why a Maltipoo Mats Where the Legs Meet the Body is often due to the constant movement and rubbing in those areas.
Consider your Maltipoo's daily life. When they scratch behind their ears, rub their face on the carpet, or even just walk, these actions contribute to tangles. If your Maltipoo wears a harness, that can also create friction, leading to mats. Whether a Harness Rubs a Maltipoo's Coat Into Knots is a common concern, and choosing the right fit and material can make a difference. These areas require extra vigilance during your daily grooming routine. Missing just one small tangle in these spots can quickly lead to a full-blown mat that becomes much harder to remove later.
Essential Tools for Safe Mat Removal
Before you even think about tackling a mat, you need the right arsenal of tools. Trying to pull a mat out with a regular brush or scissors can be painful for your Maltipoo and potentially dangerous. Investing in quality grooming tools makes the process safer, more comfortable for your dog, and ultimately more successful for you. You'll likely find these tools readily available on platforms like Chewy or Amazon.
The Right Brushes and Combs
Your standard slicker brush is great for daily grooming, but it's often not enough to penetrate a dense mat. For mat removal, a good quality metal comb is your best friend. Look for a comb with both wide and narrow teeth. The wide-toothed end can help you gently tease apart loose tangles, while the narrow-toothed end is crucial for working through smaller, tighter knots once they've been loosened.
A mat rake or mat splitter is another specialized tool that can be incredibly useful. These tools have small, razor-sharp blades designed to cut through dense mats without getting too close to the skin. They require a delicate touch and careful instruction to use safely, as improper use can injure your dog. Always ensure your mat rake has rounded tips to prevent accidental pokes.
- Slicker Brush: Best for general coat maintenance and removing loose hair, but not for dense mats.
- Metal Comb (Fine/Wide Teeth): Essential for teasing apart tangles and working through mats.
- Mat Rake/Splitter: For carefully cutting through very dense mats. Use with extreme caution.
- Blunt-nosed Scissors: Only for last resort, carefully cutting away from the skin, never pointing towards it.
Detangling Sprays and Conditioners
Never try to work a dry mat out of your Maltipoo's coat. Dry hair is brittle and more prone to breaking, which just makes the mat worse. A good detangling spray or leave-in conditioner is indispensable. These products lubricate the hair strands, making them slicker and easier to separate without causing discomfort. You can find excellent options on Amazon or Chewy specifically formulated for dogs.
Apply the spray generously to the mat, ensuring it penetrates all the way through. Let it sit for a few minutes to really soak in and soften the hair. Some pet parents even use a tiny amount of cornstarch or baby powder on the mat to help absorb oils and give the hair a little slip, making it easier to separate. Always test any new product on a small area first to ensure your Maltipoo doesn't have a reaction. The goal here is to reduce friction as much as possible, making the detangling process less painful and less damaging to their delicate coat. Having The Kit Needed to Groom a Maltipoo at Home readily available will make these emergency mat situations much less stressful.
| Tool Type | Primary Use | How It Helps with Mats | Cautionary Notes |
|---|---|---|---|
| Slicker Brush | Daily brushing, general detangling | Removes loose hair before it can form mats | Not effective on tight mats; can pull painfully |
| Metal Comb | Fine-toothed detangling, checking for knots | Teases apart tangles, works through loosened mats | Can pull if forced; always comb from ends to root |
| Mat Rake/Splitter | Cutting through dense, tight mats | Breaks down large mats into smaller, manageable sections | Very sharp; improper use can cut skin; use sparingly |
| Detangling Spray | Lubrication, softening hair | Reduces friction, makes hair easier to separate | Ensure dog-safe formula; avoid eye/mouth contact |
| Blunt-nosed Scissors | Last resort cutting | Snips small sections of mat away from the skin | High risk of accidental cuts; never point at dog |
Step-by-Step Safe Mat Removal
Okay, deep breaths. This isn't a race. Removing mats requires patience, a gentle hand, and a commitment to your Maltipoo's comfort. Rushing through it will only cause pain, stress, and potentially make your dog hate grooming time. Remember, the goal is to save the coat without causing trauma.
Prepping Your Maltipoo and the Mat
First things first, find a comfortable, well-lit spot where your Maltipoo feels secure. A non-slip grooming table is ideal, but a stable counter or even the floor with a mat can work. Have all your tools within reach. Speak in a calm, soothing voice to reassure your pup. Give them a favorite treat to associate this experience with something positive.
Before you touch the mat, visually assess it. Is it tight against the skin? How large is it? Is the skin underneath irritated? If the mat is large, dense, and directly on the skin, or if the skin looks red, inflamed, or there are sores, it might be too severe for at-home removal. In such cases, a professional groomer or veterinarian might be needed to safely shave it off. Attempting to remove a deeply pelted mat can cause significant pain and injury. Once you've determined it's a manageable mat, lightly spray the mat with your detangling solution, making sure it saturates the entire mat. Let it sit for a few minutes to work its magic.
The "Line Brushing" Technique
This is the golden rule for detangling, whether you're working on a small knot or a larger mat. It involves working in tiny sections, literally one "line" at a time, from the very ends of the hair up to the skin.
- Isolate the Mat: Gently hold the hair at the base of the mat, close to your Maltipoo's skin, with your fingers. This protects the skin from being pulled as you work and reduces discomfort.
- Start at the Edges: With your metal comb (start with the wider teeth), begin gently teasing out the very tip of the mat, literally a few strands at a time. Work only on the outermost edges, never trying to pull the comb straight through the middle of the mat.
- Small Sections, Gentle Strokes: Comb small sections, working from the ends of the hair towards the skin. Imagine you're drawing a tiny line through the mat. Each time you clear a small section, move up slightly closer to the skin, but always from the ends inwards. If you hit resistance, stop. Do not pull. Re-spray with detangler, let it soak, and try again.
- Use a Mat Rake (If Necessary): If the mat is very dense and refusing to budge, you can very carefully use a mat rake. Hold the mat firmly at the base to protect the skin. Use the rake to make small, short strokes, cutting away from the skin, to break the mat into smaller strips. Never pull the rake through the mat like a comb; it's designed to slice. Be incredibly cautious, as these tools are sharp.
- Patience is Paramount: This process takes time. If your Maltipoo starts to get fidgety or shows signs of discomfort, take a break. Offer a treat, give them a cuddle, and come back to it. Multiple short sessions are much better than one long, stressful one. This is also where you might consider if Whether Home Grooming a Maltipoo Is Realistic for you and your dog, or if professional help is needed.
When to Use Scissors (Last Resort)
Scissors should truly be your last resort due to the high risk of accidentally cutting your Maltipoo's skin. Their skin is very thin and loose, making it incredibly easy to snip. If you must use scissors, ensure they are blunt-nosed grooming scissors.
- Never Point Towards the Dog: Always point the tips of the scissors away from your Maltipoo's body.
- Slide Underneath: Carefully slide the blunt end of the scissors underneath the mat, parallel to the skin, with your fingers protecting the skin from the blades.
- Snip, Don't Cut: Make small snips into the mat, parallel to the body, to break it into smaller pieces. You are essentially creating channels in the mat, not cutting it off entirely. Once the mat is broken into smaller sections, you can go back to using your comb and detangling spray.
- Consider a Professional: If you're ever unsure or uncomfortable, especially with large or very tight mats, please seek professional help. A professional groomer has the experience and specialized tools to safely remove mats, even if it means shaving certain areas.
Preventing Future Mats and Maintaining a Healthy Coat
Once you've successfully conquered a mat, the best strategy is to prevent them from coming back. Consistent daily care is the secret to a mat-free Maltipoo coat. It requires dedication, but it's far less stressful than battling dense mats.
Daily Brushing Routine
For a Maltipoo, daily brushing isn't just a suggestion; it's a necessity. This is especially true for those with curlier or wavier coats, and certainly during that coat change phase. Your routine should involve a good quality slicker brush and a metal comb.
Start by thoroughly brushing your Maltipoo with the slicker brush, ensuring you get all the way down to the skin, not just skimming the top layer of the coat. Use short, gentle strokes. After the slicker brush, follow up with your metal comb. This is the crucial step: comb through the entire coat, section by section, starting from the ends and working your way to the skin. If the comb glides through smoothly from root to tip, you're good. If it snags, you've found a tangle that needs gentle teasing out before it becomes a mat. Pay extra attention to those matting hotspots mentioned earlier. How Many Times a Week a Maltipoo Needs Combing really comes down to daily attention for most of them.
Don't forget the areas behind the ears and around the eyes. Keeping a Maltipoo's Face Trimmed and Clean is not just for aesthetics but also prevents mats from forming around their delicate eyes, which can lead to irritation and tear staining.
Regular Professional Grooming
Even with diligent home grooming, professional grooming is often essential for Maltipoos. A professional groomer has high-velocity dryers that can help straighten hair for easier brushing, specialized tools, and the expertise to tackle challenging coats. They can also perform sanitary trims and keep the hair around the eyes and paws neatly clipped, preventing mats in these critical areas.
Discuss your Maltipoo's coat type and your grooming routine with your groomer. They can recommend the best frequency for appointments, typically every 4 to 8 weeks, depending on coat length and lifestyle. Regular professional grooms can help catch small tangles before they escalate and keep your Maltipoo looking and feeling their best. It's an investment that saves you time and stress in the long run.
Proper Bathing Techniques
Bathing a matted Maltipoo is a big no-no. Water makes mats tighter and almost impossible to remove. Always thoroughly brush out any tangles and mats before bathing. Once your Maltipoo is mat-free, use a high-quality dog shampoo and conditioner.
When rinsing, ensure all shampoo and conditioner are completely washed out, as residue can cause skin irritation and make the coat sticky, encouraging new mats. After bathing, gently towel-dry your Maltipoo, then immediately follow up with a blow dryer on a cool or low-heat setting, brushing the coat as you dry. This ensures the coat dries straight and fluffy, preventing new tangles from forming as it air-dries. Combing a Maltipoo Down to the Skin after a bath, while still slightly damp, and ensuring it's fully dry and tangle-free is key.
Remember, consistency is your best tool against mats. It's much easier to spend a few minutes each day on prevention than hours struggling with painful, tight mats.
Disclaimer
This article is for general informational purposes only and does not constitute professional advice. Laws, prices and regulations vary by location and change over time. Consult a qualified professional for guidance on your specific situation.